Welcome

Here you will find delicious, usually healthy and always vegetarian goodies fresh from my kitchen. Enjoy and let me know what you think.

Monday, January 16, 2012

Whole Wheat Cranberry Almond Biscotti


While working on my admissions essay to get into grad school at CSU, I needed a distraction and a way to keep myself busy but at the same time, low key enough to process and order my thoughts about how I was going to write an essay about myself.  What better way than to cook biscotti to dunk into all the tea and coffee that I have been consuming.  Of course I changed the original recipe to make it a bit healthier.  The result is what follows.  In mine however, I accidentally left out a few key ingredients that I will be sure to add to the recipe that I post here.  I blame the memory lapse to the excess quantity of mate that I had consumed...which for some ironic reason was the inspiration of the biscotti.  

Makes 14-16

Whole Wheat Cranberry Almond Biscotti

1 C. Whole Wheat Flour
2 T. Flax Seed
6 T. Sugar (which equals 1/4 C. + 2 T. Sugar)
1/2 t. Baking Powder
1/4 t. Baking Soda (this is what I left out)
1 Egg
1 Egg White
1/2 T. Almond Extract
7 oz. Craisins
7 oz. Slivered Almonds
1 T. Lemon Zest (I used 1 t. lemon extract)

1/2 C. White Chocolate Chips
1/2 T. Oil


Preheat oven to 325 degrees F.

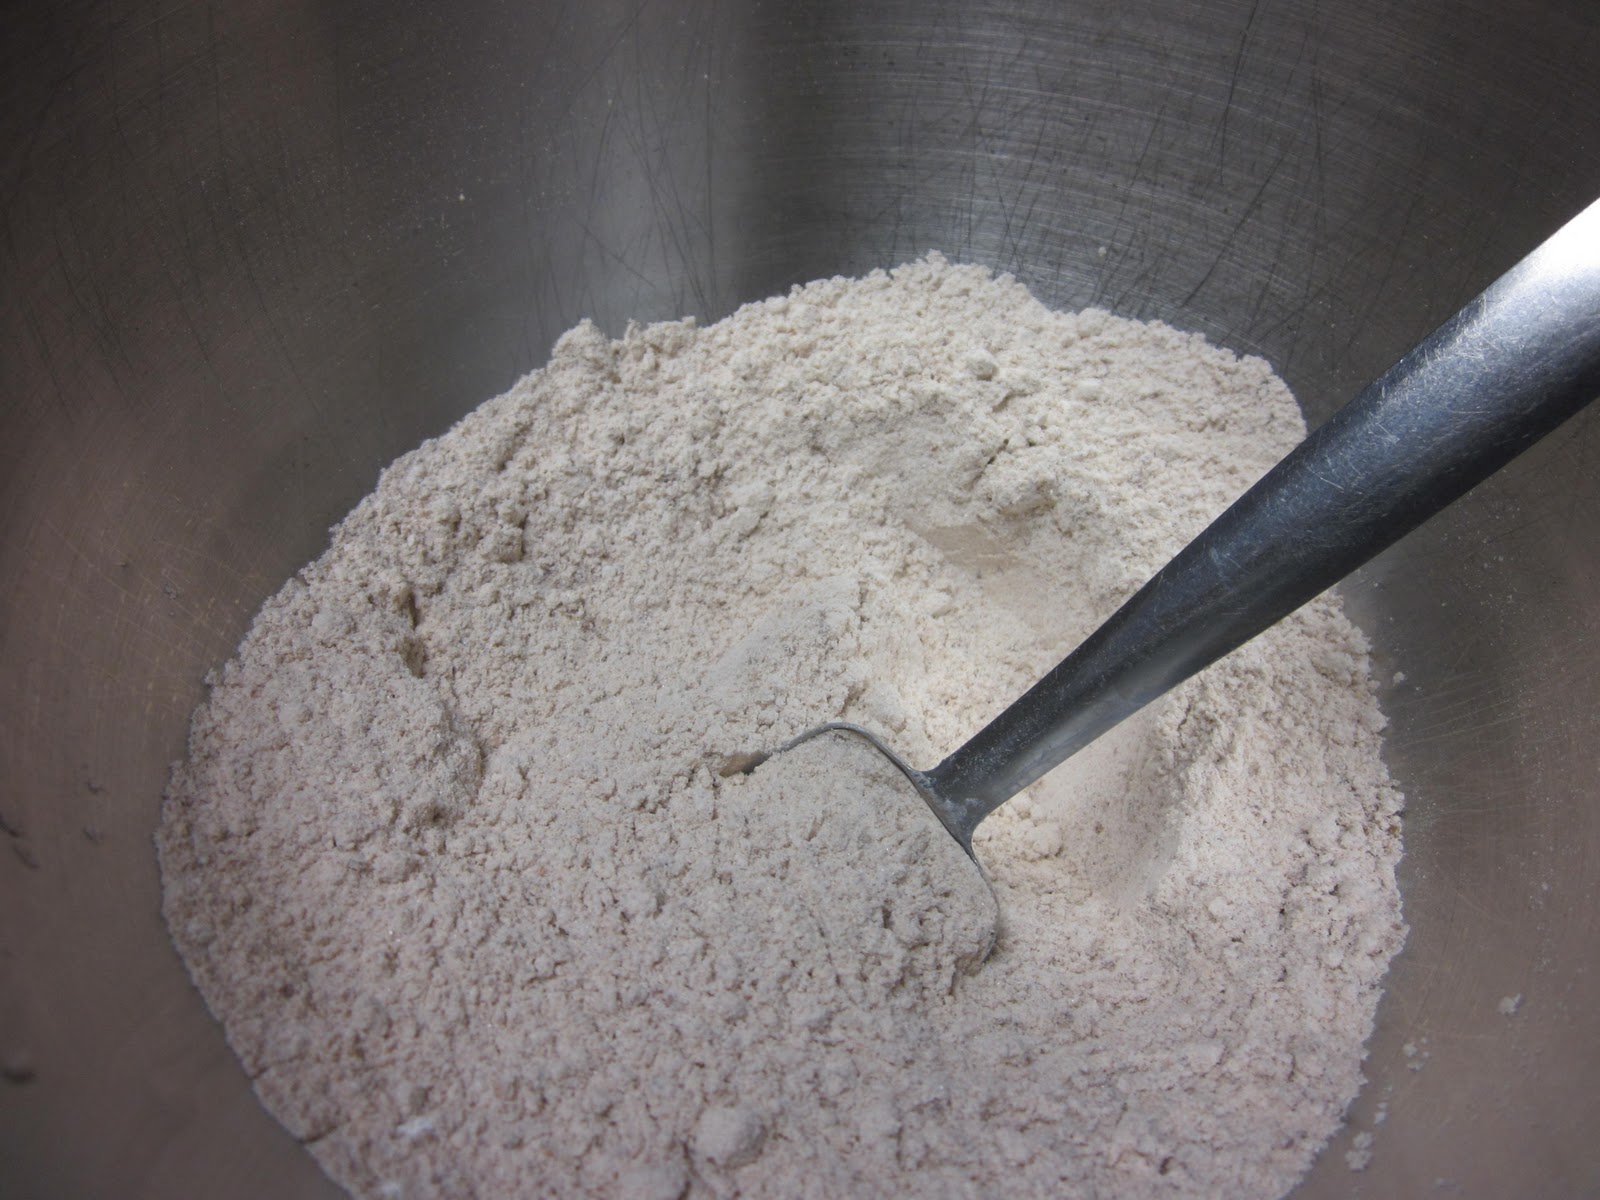
Add the first 5 ingredients and mix thoroughly. 


Make a little hole in your dry mixture and add the next 6 ingredients.  Stir until thoroughly combined.  


Pour onto a greased cookie sheet and spread out until the mixture is about 1/4" to 1/2" thick.  Make sure to keep batter away from the edges to prevent burning of your soon to be super delicious biscotti.  


Bake for 30 minutes at 325F


Remove from oven reduce heat to 300 F and slice half cooked biscotti once length wise and then proceed to make about 1/2" cuts width wise.  Place biscotti on sides this time before placing back in the oven.

Place back in the oven at 300 F and cook for another 15 to 20 minutes.


Remove from oven and let cool.


Either enjoy without the white chocolate chip drizzle or proceed to the next steps to top with the white chocolate chip drizzle.


To make the White Chocolate Chip Drizzle

While the biscotti is cooling, combine the white chocolate chips and the oil in a microwave safe container and microwave until the chips are melted-about 1 minute.


After the Biscotti has cooled completely, drizzle the melted White Chocolate over the Biscotti, covering the biscotti as much as you would like.

Let the White Chocolate dry and enjoy your freshly baked biscotti fresh right now or with your next cup of coffee, tea or hot chocolate.

Inspiration courtesy of http://lottamadness.com/home/2011/11/23/almond-cranberry-biscotti/

Sunday, January 15, 2012

Cranberry Wontons


This whole idea came about on a lovely Sunday morning as my brother was getting ready to leave to go back to college...no better way to send him off than with a delicious fresh baked breakfast and of course a sulking barking dog that was miserable because he saw all the bags and thought he was being abandoned forever.

I love working with egg roll wrappers.  They are so versatile and easily take on the flavor of whatever you put in them while staying healthy if you bake them and not fry them.  Seeing as I have already tried pumpkin wontons, it was time to branch out and go for a different fruit inside my wonton...this time cranberries due to the fact that they were just sitting in my fridge and needed to be used up.  The joy of wontons and egg roll wrappers...you get so many of them and there are so many variations that you can do with them.  (I recommend buying the egg roll wrappers instead of the actual wonton wrappers.  You get just a few more for the same price, and all you have to do is cut them in 4 pieces.  And, if you want to have a full size egg roll, you still have that option.

Serves 2 for a meal, or makes about 12 wontons

Cranberry Wontons


1/2 C. Fresh Cranberries
1/2 C. Water
5 oz. Low Fat Cream Cheese
1 T. Cinnamon Sugar + extra to sprinkle in each
(Extra sugar is you like your cranberries sweeter)
1/4 t. Ginger
1/4 t. Vanilla
3 Egg Roll Wrappers cut into 4 pieces each
1 Egg to brush on top of each wonton.
Powdered Sugar to sprinkle on top of the finished wontons


Preheat oven to 350 degrees F.

In a small saucepan, heat water, cranberries, and 1 T. Cinnamon sugar until cranberries pop and all the liquid has evaporated.


In the meantime, mix low fat cream cheese, vanilla and ginger.  (Add the extra sugar if you want a sweeter and less tart filling).  Once the cranberries are done, add to the cream cheese mixture and stir until thoroughly blended.  


Place about 1 t. of Cranberry Cream Cheese mixture into the middle of each 1/4 of an egg roll wrapper.  

Rub a small strip of water on two consecutive sides of the wrapper, fold over and seal by pressing the edges together.  Place on a greased pan.  

Beat one egg to coat the top of each wonton to give the wonton a crispy finish.  


Brush the top of each wonton with the beaten once it is placed on the greased pan.

Bake for 10-15 minutes or until the edges turn golden brown.


Take the wontons out of the oven and sprinkle with powdered sugar.  Once they have slightly cooled, enjoy while they are still fresh.

Friday, January 13, 2012

Spinach Pancake Sandwich


Apparently, I like to come home on a Friday night and start cooking.  It could be the fact that I don't have a lot of energy left over from opening at Starbucks 2 days in a row, nannying, and trying to fit in running and rock climbing in the meantime.  And for me, cooking is a way for me to relax and calm down.  This night, I realized that I had a lot of spinach that was sitting in my fridge going to waste.  Seeing as it is still winter (and cold) in Colorado, a spinach salad with my new favorite salad dressing of a super fruit vinegrette did not sound too warming on a cold winter night, so I did what I do for most of my recipes and inspirations...I headed to Pinterest!  There I stumbled across these pancakes...perfect combination...spinach (to keep up with my goal of eating more veggies) and warmed up, but not the icky just cooked spinach.  And it contained a bit of protein to help my muscles recover from all the strength training and rock climbing that I have been doing.


Spinach Pancake Sandwich

(What the original recipe calls for...due to the fact that I don't always follow directions or measure out what I am supposed to...don't worry, I will tell you later how I fixed mine)

3 C. (Handfuls) Fresh Spinach
3 Eggs
2/3 C. Rice Flour

My ingredients (and seeing as it was only me eating)

2 C. (Handfuls) Fresh Spinach
2 Eggs
3 Heaping Spoonfulls of Whole Wheat Flour (I work at Starbucks and thus cannot afford many specialty items, and I am also not gluten intolerant so there is not need to cut out healthy whole wheat flour)
Salt, Pepper and Dried Basil to season

Extra egg to make a sandwich
Cheese (I used some fresh homemade 'mozzarella')


In a blender mix spinach and eggs until pureed...yes, it will share a great resemblance with baby food, but I can guarantee you it is much tastier in the end!


Now add flour and blend or stir until thoroughly combined.


Heat skillet and spoon mixture into pancake sizes onto slightly greased skillet.  It should bubble on top like pancakes, but if not, flip when they start to brown on one side and do not stick anymore.


Right as the pancakes were finishing up on their second side, I started to cook a third egg for the pancake sandwich that I was going to make.  


As soon as the egg is done, remove pancakes from skillet, top with cheese, egg and the other pancake.  If so desired, add tomato and any other delicious vegetable that you would like to your pancake sandwich.

This is one recipe that I will be making again.  It was absolutely delicious and the egg and cheese really brought out and combined all the flavors.  Next time, I will be trying it with some hummus and other goodness yet to be determined.


In the end, I had some left over batter and I was still hungry, so I cooked it up in one huge spinach pancake and lightly topped it with the homemade 'mozzarella'.

Inspiration courtesy of http://spabettie.com/2011/01/21/spinach-pancakes/

Monday, January 9, 2012

Bloomin' Cinnamon Roll


A caution to the wind: This is not one of the healthier options that I have made in my life, but it sure was delicious and it is perfect for party, which is what it was made for.  The pieces are perfect pull off bites that do not require much of a commitment from the eater!  This was made for a New Year's Eve Party at a Rock Climbing Gym, so the guilt trip was not too much of a concern, and part of the inspiration for the rum added to the icing.  

If you would like a healthier version of this cinnamon roll, simply make and use less honey butter, less sugar in the cinnamon sugar topping and less icing.


Bloomin' Cinnamon Roll

1 Round Roll of you favorite bread (I choose a honey whole wheat to make it a bit healthier)

Honey Butter
1/2 C. Melted Butter
1/4 C. Powdered Sugar
1/4 C. Honey
1 generous t. Vanilla

1 C. Sugar
1/4. C. Cinnamon

Icing
1 C. Powdered Sugar
1 T. Non-Fat Milk
1 T. Rum

Preheat oven to 350 degrees F.


To make the Honey Butter:


Combine the Melted Butter, Powdered Sugar, Honey and Vanilla.  Wisk in a bowl until thoroughly mixed.


Cut bread lengthwise in 1/2 to 3/4 inch strips.  Spread half of honey butter between the slices.

Rotate bread 90 degrees and repeat with the slices and spreading the honey butter between the slices.

Combine the cinnamon and sugar into a bowl and then sprinkle into the slices of the bread so that it sticks onto the honey butter.

Wrap bread in aluminum foil and bake in preheated oven for 25-30 minutes until the bread is warm. 


While the bread is in the oven, make the icing by mixing the Powdered Sugar, milk and rum.  If the icing is too thick, add more rum or milk.  If the icing is too thin, add more powdered sugar.  (As you can see, I was more partial to the Rum).


Once the bread is done, unwrap the foil and sprinkle with the icing.  Place on a plate and enjoy fresh out of the oven.  

This is best enjoyed fresh, so if you have left-overs (which is highly unlikely), simply reheat in the oven so you may enjoy that fresh baked goodness all over again.

Cauliflower Crust Pizza


Perhaps one of my many New Year's goals (on top of getting myself into grad school so that I can further my education, and get a better job than that of being a barista at Starbucks) is to continue to try to eat healthier and include more delicious veggies into my diet.  What better way to do it than to add it to one of my favorite foods...Pizza!  It is even tastier and more satisfying after a long run...double whammy...great exercise with some of my favorite music and some healthy eating!

This pizza was absolutely delicious and did not sit heavy on my stomach like a normal (though very delicious) pizza.  I will definitely be making and eating this again!

Cauliflower Crust Pizza

Crust
1 C. Cooked Shredded Cauliflower (about 1/3 head of uncooked) (shredded by a grater or in a food blender)
1 C. Part-Skim Mozzarella Cheese
1 Egg
1 t. Dried Oregano
1/2 t. Crushed Garlic
1/2 t. Garlic Salt

Toppings
Any veggies that you have lying around...just make sure they are pre-cooked before you put them on the pizza.
My pizza had....

1 Small Can Mushrooms
1/2 C. Fresh Spinach...don't cook this one first...the 5 minutes in the oven will be plenty for the spinach
1 Small Onion-Sauteed in a pan on the oven until transparent white (you will want to add some butter to sautee onions)
8 Small Olives sliced
1/3 Avocado Cubed
1/4 C. Low Fat Plain Yogurt (for the sauce)
1/4 t. Dried Oregano
1/4 t. Dried Basil

Preheat oven to 450 degrees F.


Shred the Cauliflower via food processor or cheese grater and cook in microwave safe bowl for about 5-8 minutes or until tender.  (you do not need to add water to the cauliflower...there is enough in the vegetable already).

Add cheese and egg.

Stir until thoroughly mixed.


Spread crust mix out on greased cookie sheet to a 9 inch circle.

Place in preheated oven and cook for 10-15 minutes or until outside edges are brown.


While the crust is cooking in the oven, prepare your toppings...chop veggies, sautee...just make sure your toppings are cooked or you will be eating your veggies raw on your pizza...well, I mean, if you want raw veggies on your pizza, go for it...there is nothing wrong with that!


Once the crust is done, remove from oven, and top with your sauce and favorite toppings.


Place back in oven and broil for 3-5 minutes or until cheese is browned or your toppings are heated.


Remove and enjoy and guilt free pizza!


I mean, this pizza has got to be good...this guy was begging throughout the whole thing (granted he is a bit weird and most likely prefers carrots and tomatoes over meat...but I guess I raised him rights)


Inspiration courtesy of http://www.eat-drink-smile.com/2011/04/cauliflower-crust-pizza.html